Learn More About…
Our cabin kits include all of the essential components needed to assemble your structure. To allow for flexibility in site conditions, personal preferences, and local building requirements, certain items are not included with the kit purchase. Below you’ll find helpful guidance on commonly questioned items such as roofing, wood protection, insulation, utilities, and foundation options. This will help you plan your project with confidence.
Foundation:
Foundation materials are not included with your cabin kit because all site conditions vary. Your cabin can be installed on several approved foundation types, including gravel pads, concrete piers, deck blocks, or full slab foundations depending on your location and intended use. Choosing the right foundation depends on soil conditions, drainage, slope, and local code requirements. We provide foundation guidelines for each model to help you and your installer prepare the site correctly.
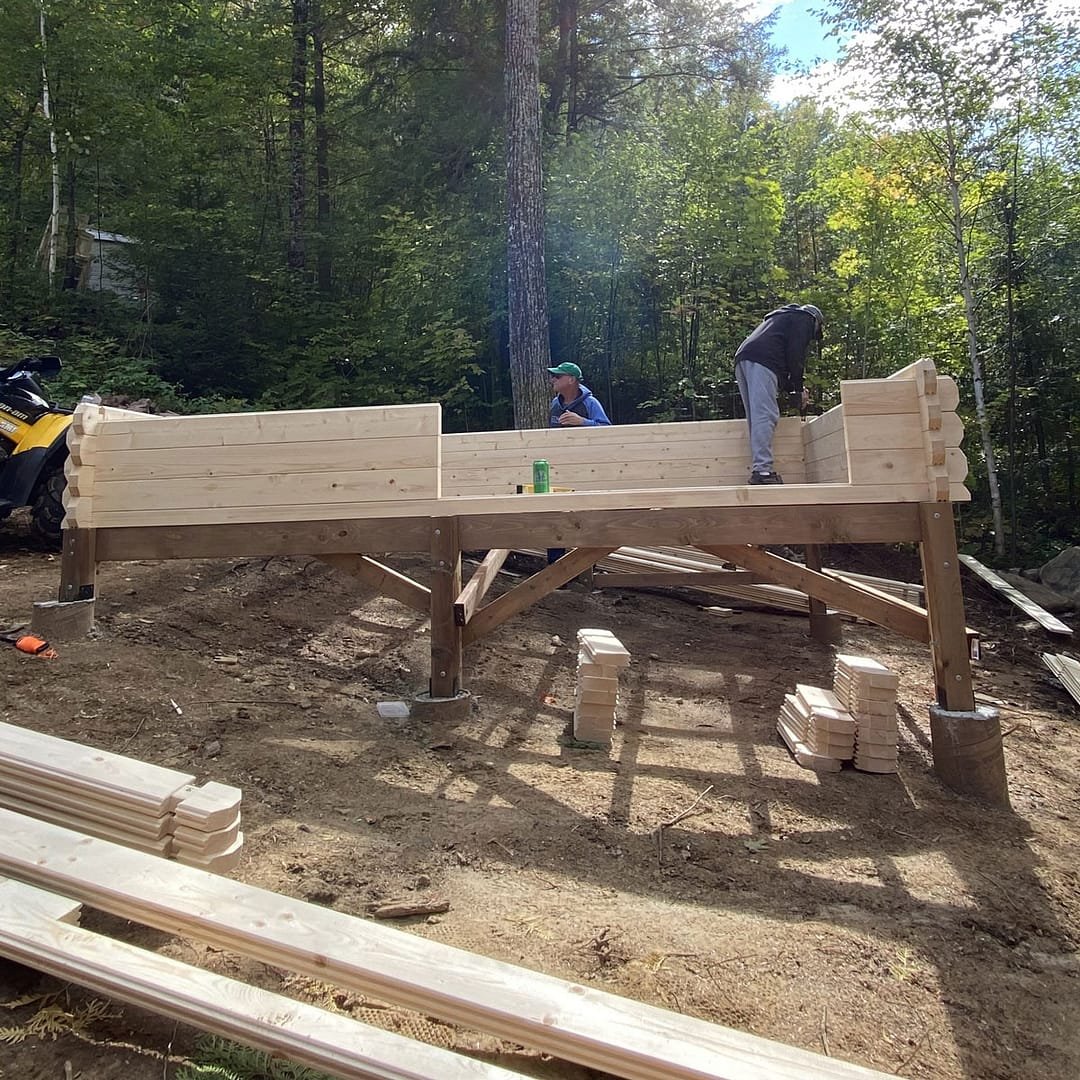
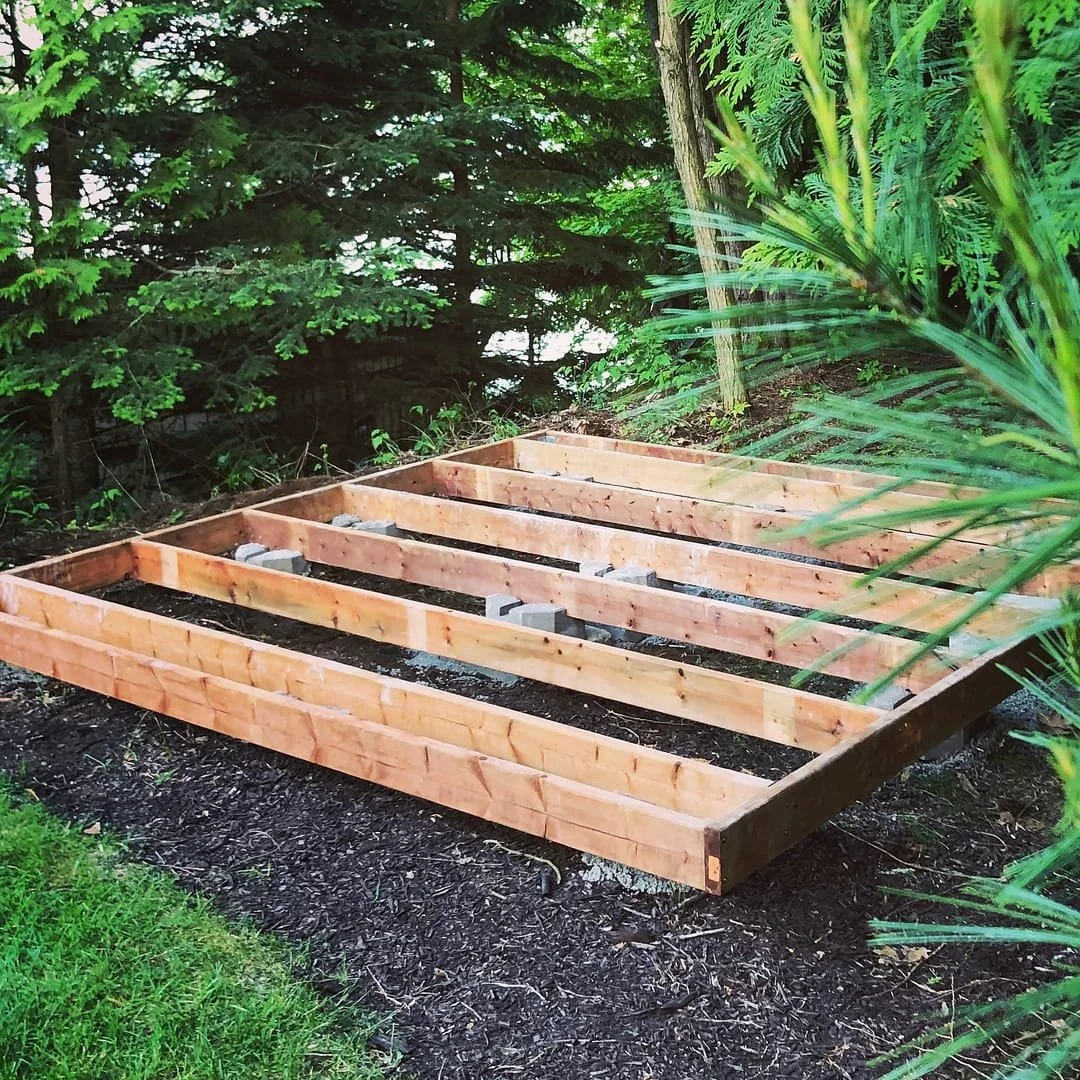
Setting up a foundation base is the first step in starting your project. It is important your structure rests on a level, well-built foundation. Choose a location that has good drainage and allows for adequate clearance around the perimeter for assembly.
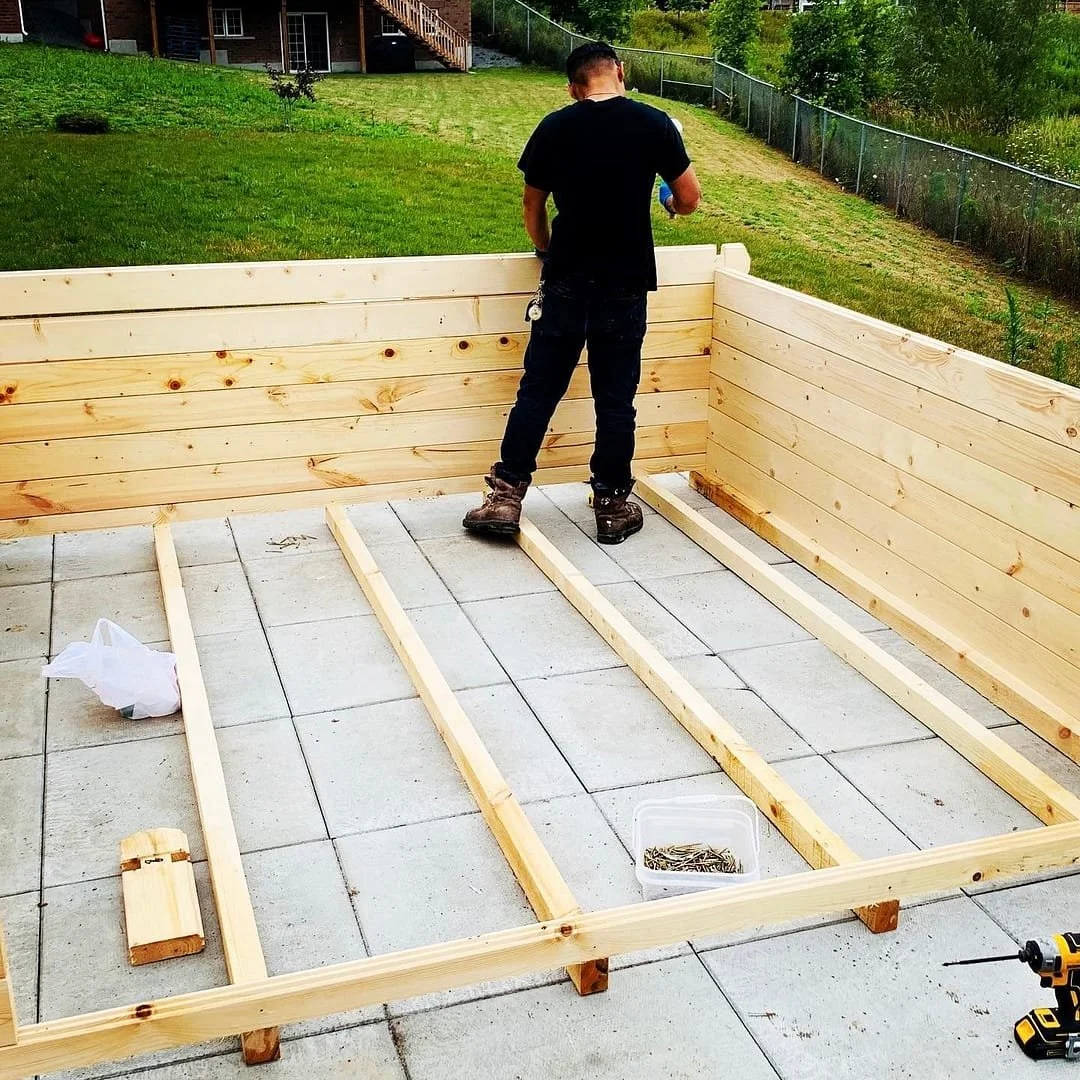
Your structure can sit on uneven ground as long as you take the necessary steps to level the foundation with footings and posts. There are many types of foundations you may elect to use. You may choose to build our structures on an adequate existing or new level platform such as a deck, patio, driveway, concrete slab or pressure treated timbers on grade.
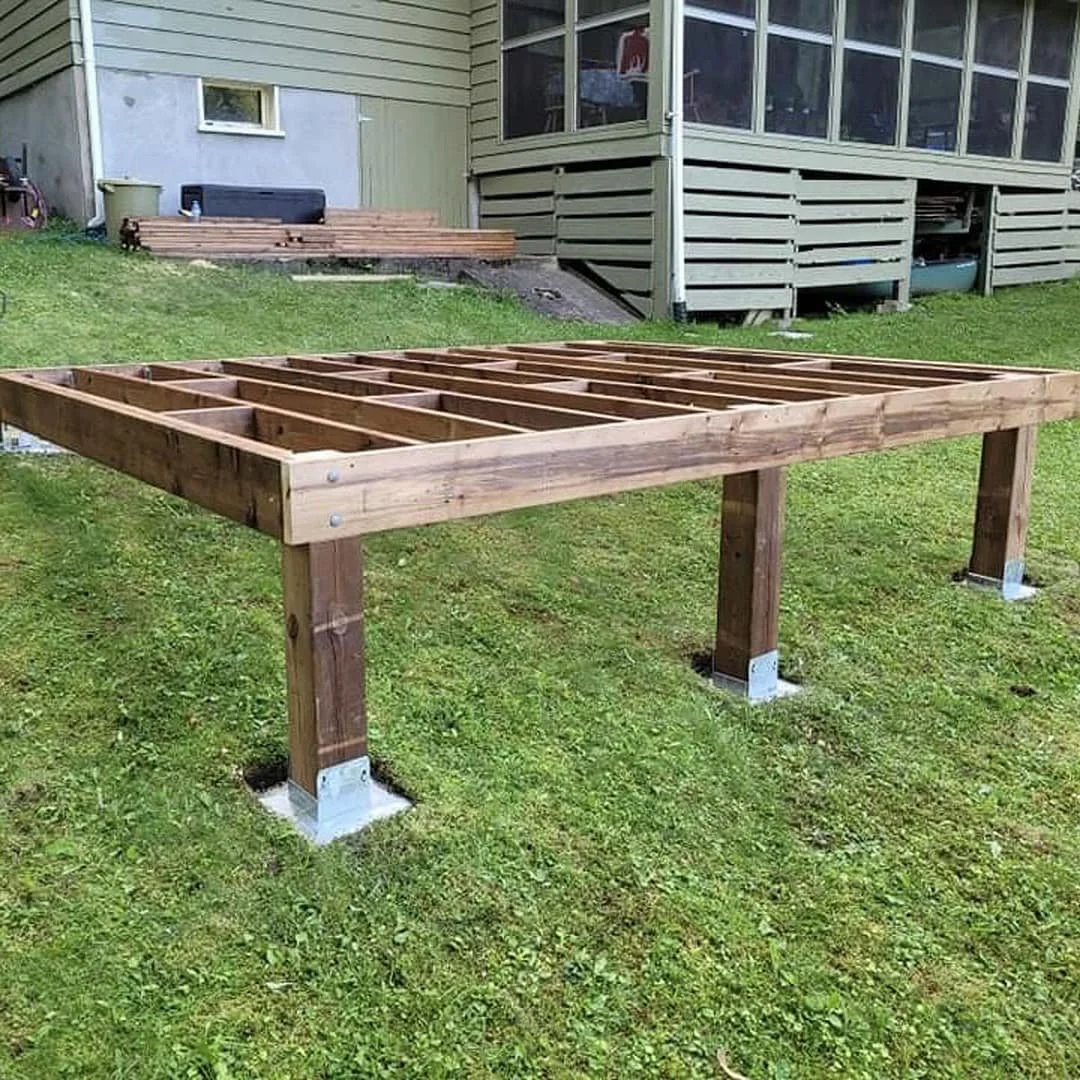
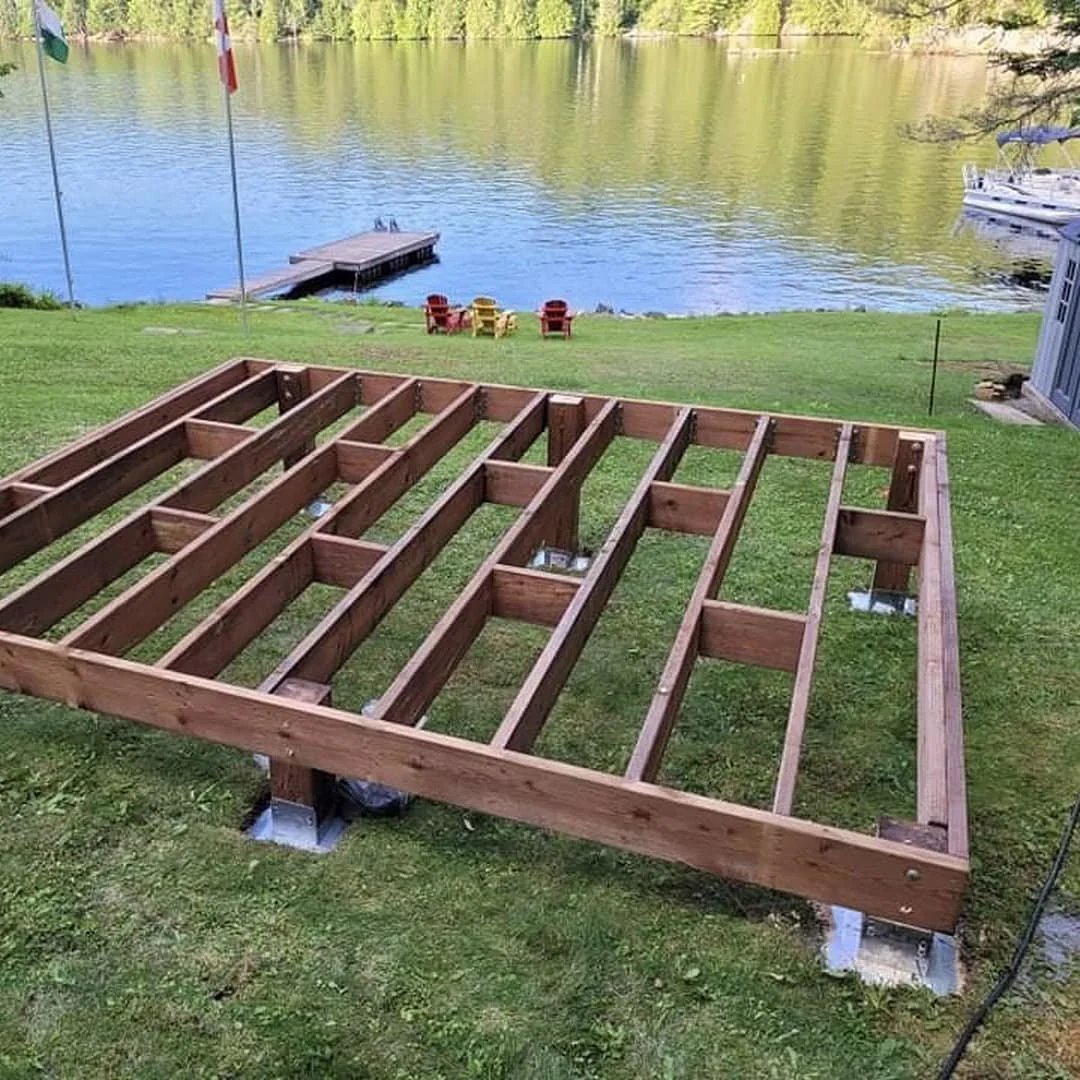
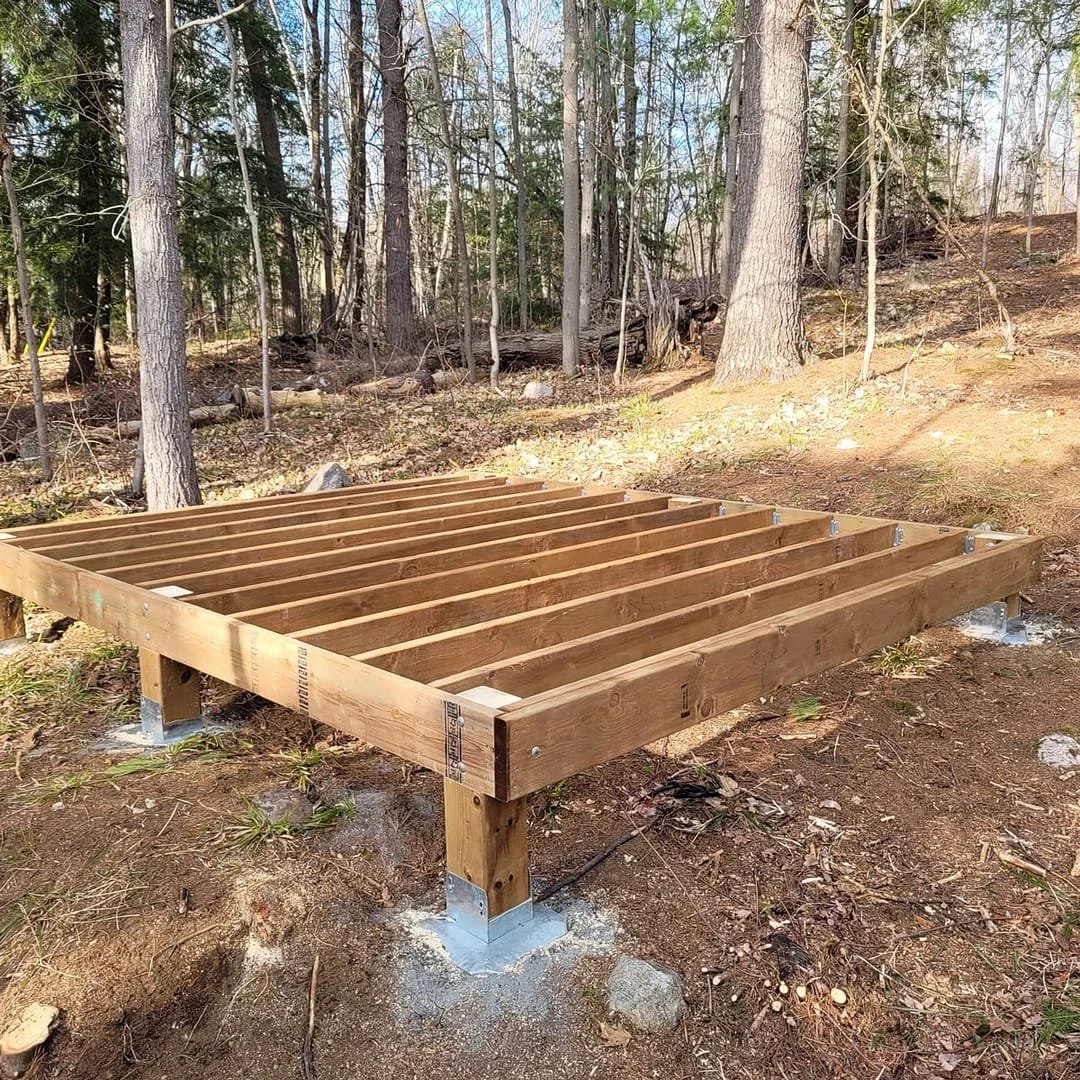
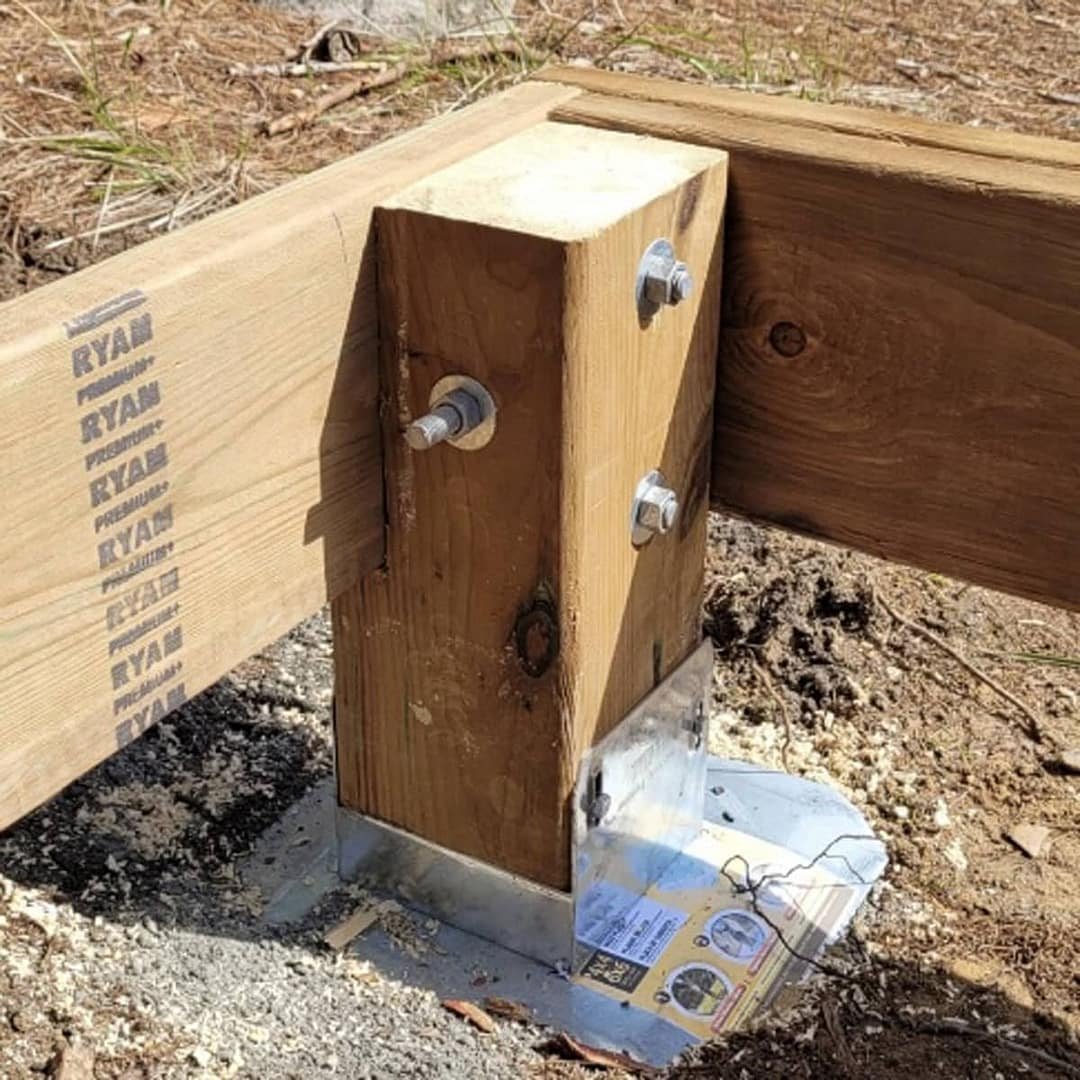
Our suggestion is for you to construct a very simple wooden pressure treated deck frame supported by footings that best suit your building site grade and soil conditions. If you choose our ‘Signature Complete Cabin’ package when you order your cabin, this pressure treated deck frame is included in your purchase. The footings, however are not included.
You may choose to explore various foundation footing types such as professionally installed screw piles, DIY screw piles available at www.fastfootings.com, poured concrete sono tubes, or suitable on-grade concrete block footings or pads.

Insulation:
We are often asked if our structures are insulated. Many of our clients are very happy using our structures with no insulation at all. A decent heat source usually heats the small space adequately even in colder climates.
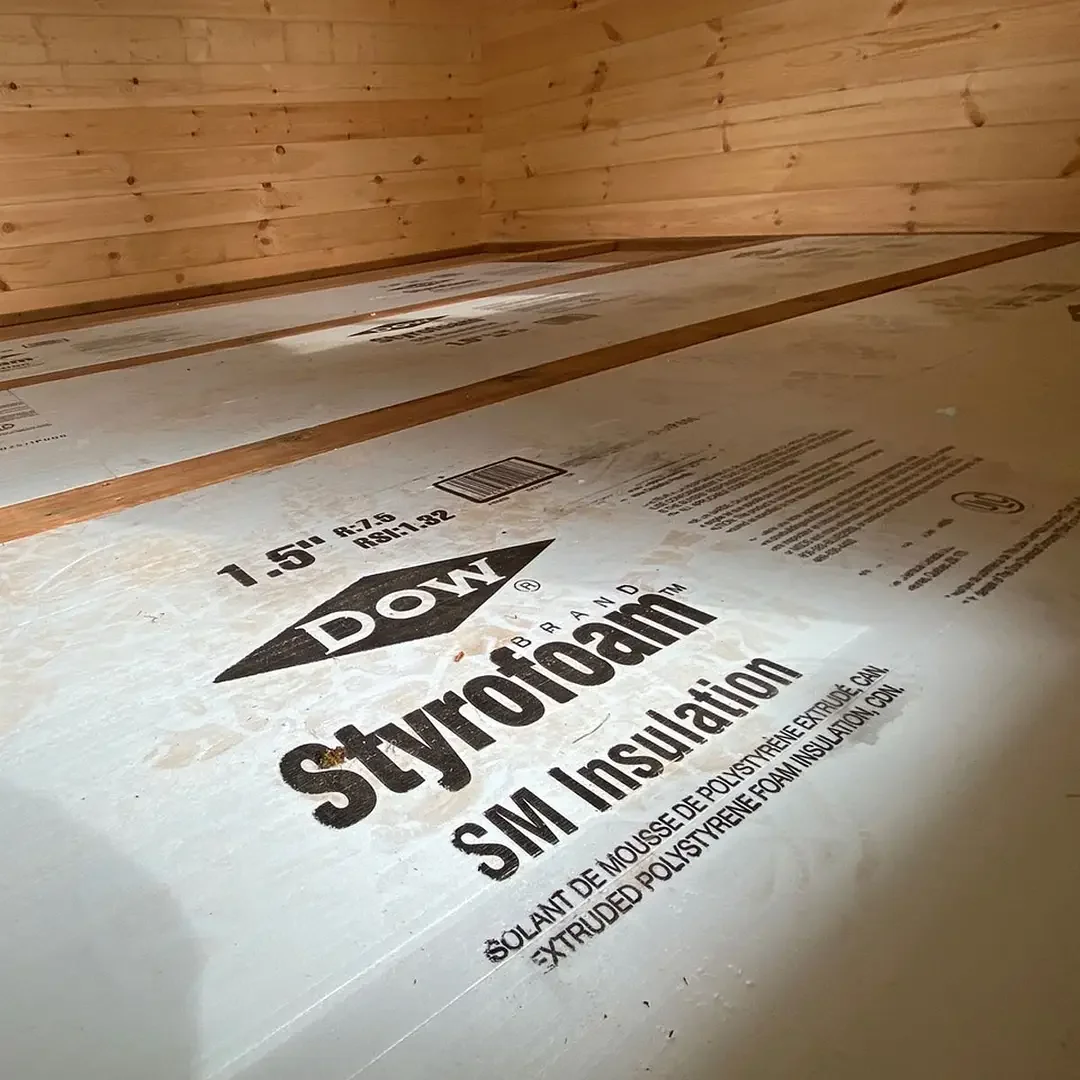
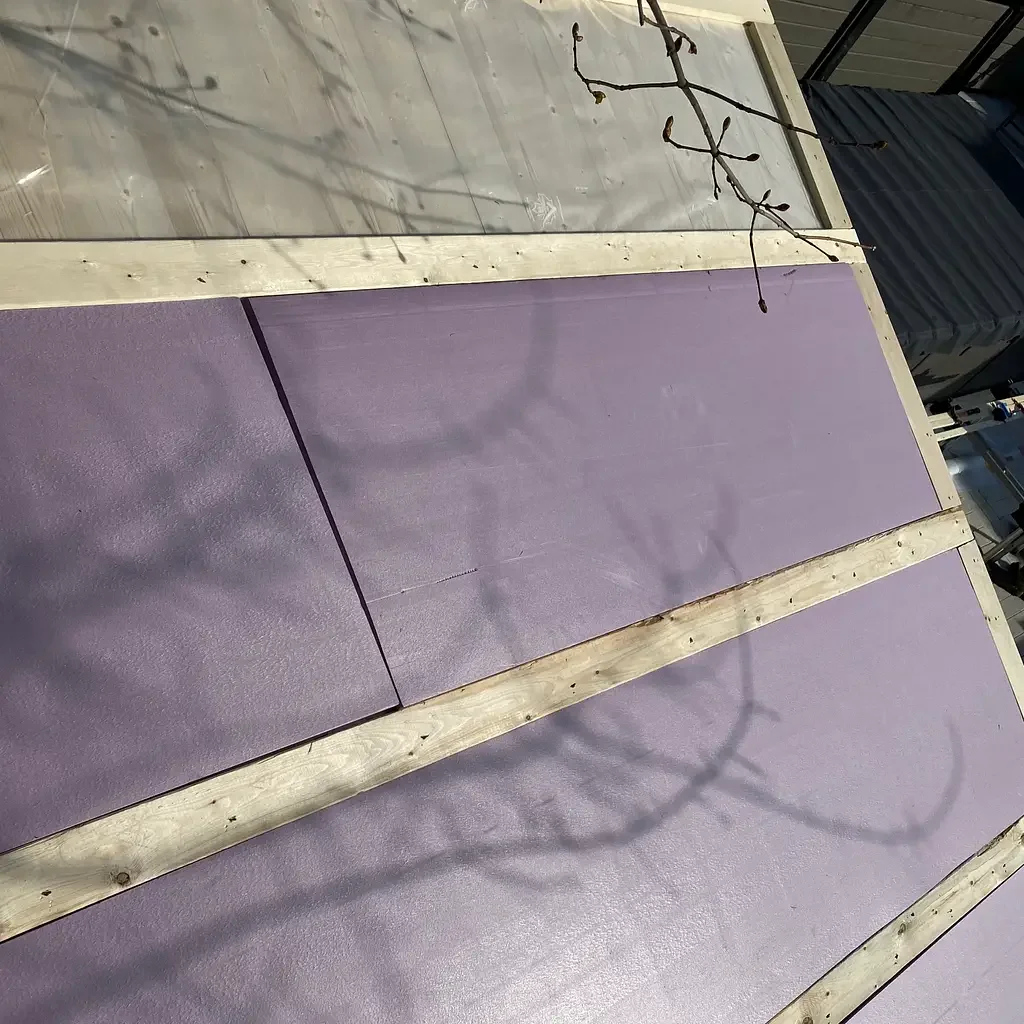
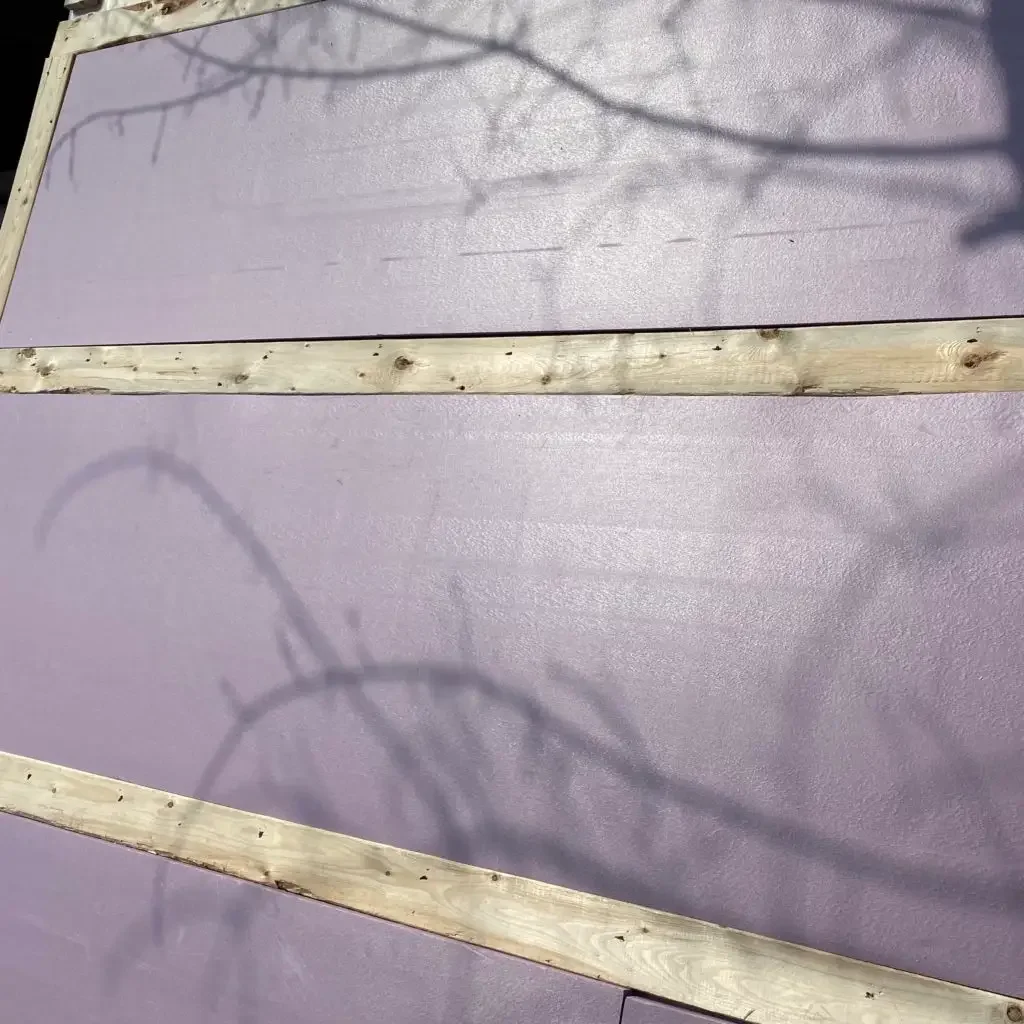
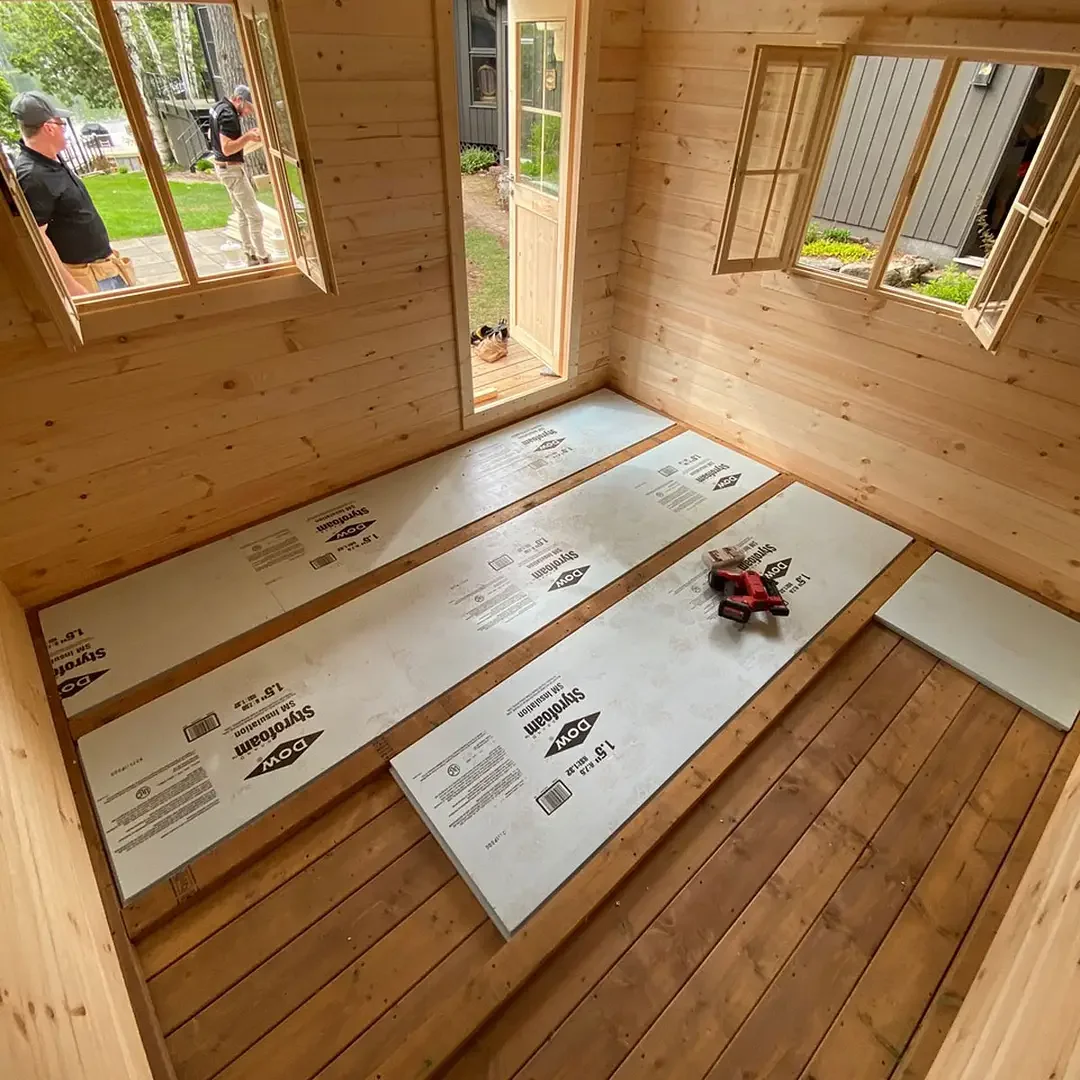
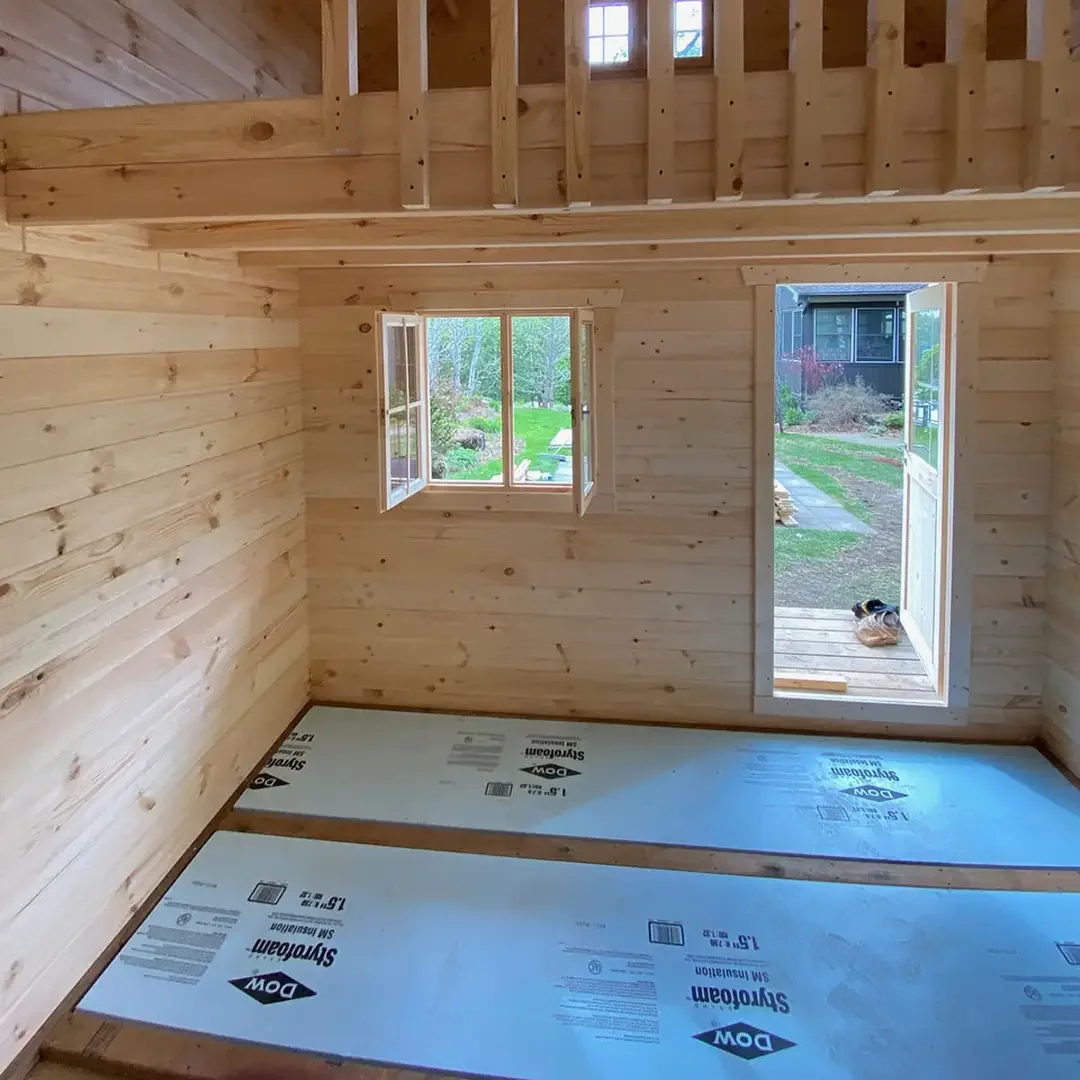
If desired, however, you may elect to insulate above the ceiling and below the floor of your cabin. Insulating above the ceiling can easily be done by strapping the outside roof with additional lumber and laying in rigid foam insulation panels before you install your chosen roof coverings. The floor is also easy with the same rigid foam insulation panels installed into the floor cavity before applying the deck boards. This insulating method will allow you to maintain the appearance of your beautiful wood floor and ceiling while greatly reducing heat escape.
If you choose our ‘Signature Complete Cabin’ package when ordering your structure, this floor and ceiling insulation package is included in your purchase.

Roofing:
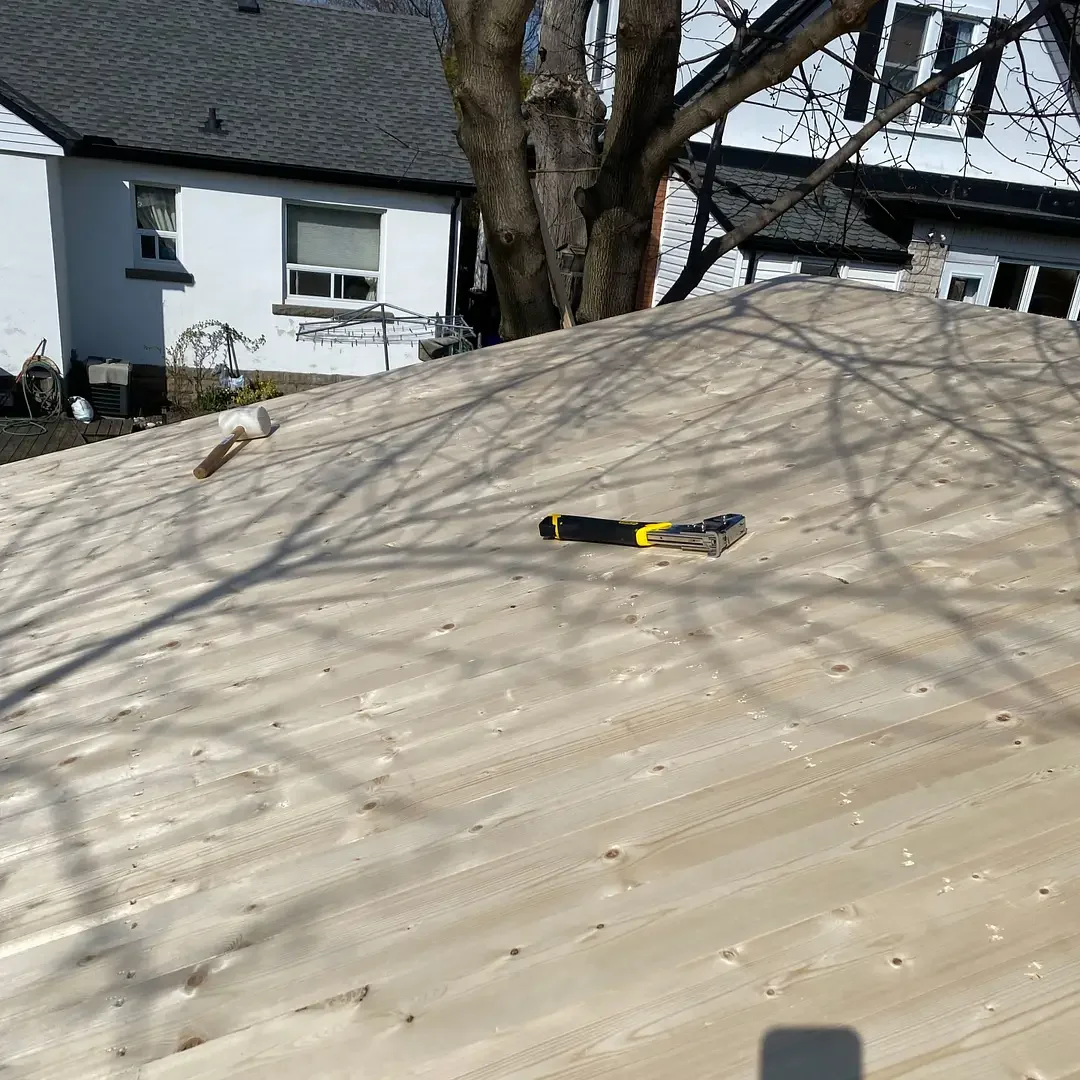
Both our ‘DIY Kit’ and ‘Signature Complete Cabin’ packages include the full structural components of the roof, including roof beams and beautifully crafted tongue-and-groove ceiling boards.
The ‘DIY Kit’, however, does not include the finished roof covering (such as shingles or metal panels), allowing you the flexibility to choose your preferred roofing material.
Our ‘Signature Complete Cabin’ package takes this a step further by including a durable corrugated metal roof, providing a complete, ready-to-finish solution.
Panel-style roofing systems, such as metal panels, are the most efficient and builder-friendly roof finishing options for our cabins. The exposed roof beams create ideal anchor points, making installation straightforward and secure. While shingles can be used, they typically require additional materials and labor. Therefore, we generally recommend a panel roofing systems for simplicity and performance.
Let’s discuss some of the great panel system roofing options for your new cabin structure
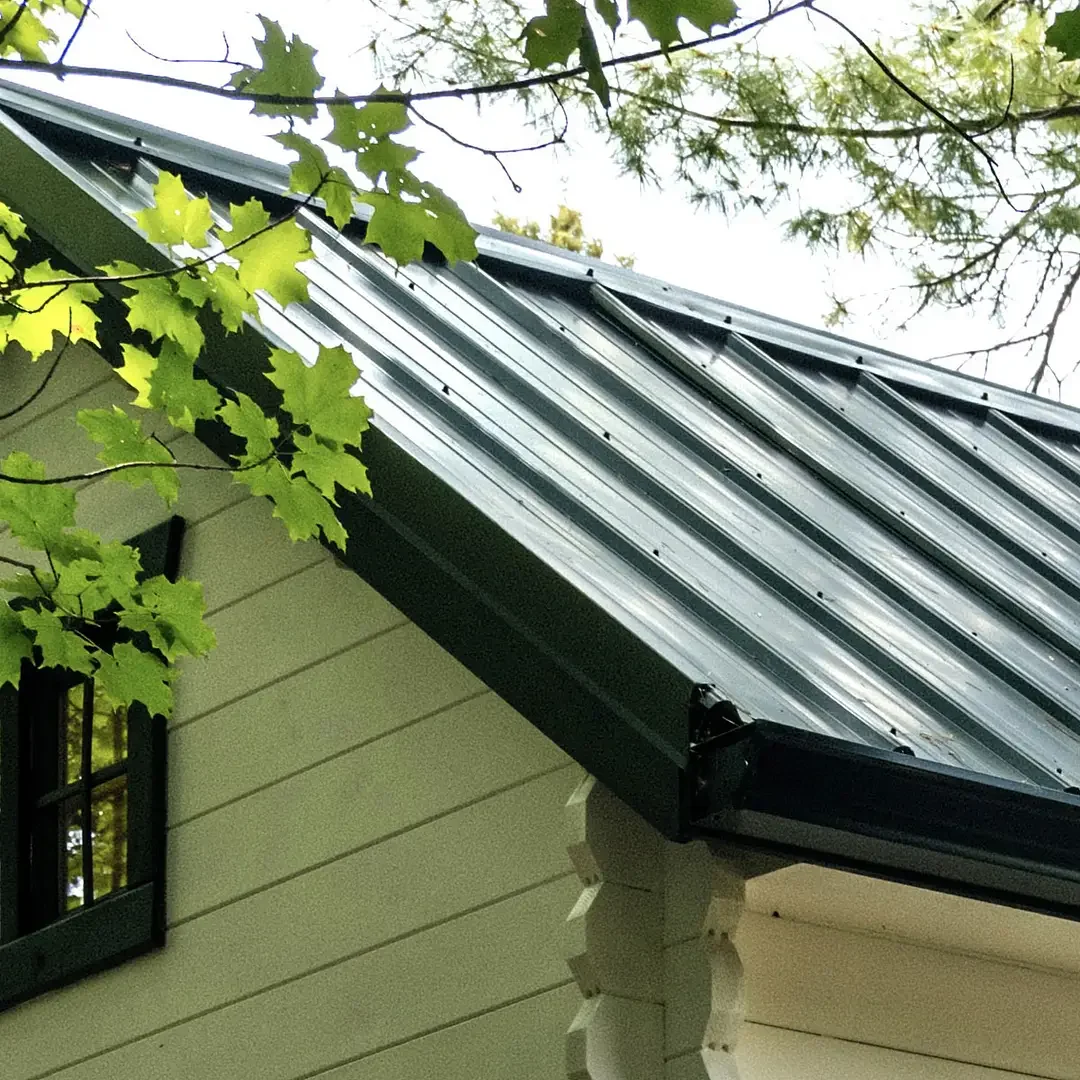
Corrugated Metal (Steel) Roofing
All metal roofing panels are typically sold in 36” or 48” widths and available in various profiles and colors that allow for greater design flexibility and aesthetic appeal.
Corrugated metal roofing materials offer several advantages that make them a popular choice for many cabin owners and builders.
It is highly durable and very long-lasting, capable of withstanding extreme weather conditions such as heavy rain, snow, and strong winds. Corrugated metal roofing is also fire-resistant, providing an added layer of safety to the structure.
Additionally, it is lightweight, making installation easier and reducing the overall load on the building. Corrugated metal is low-maintenance, requiring minimal upkeep and reducing long-term costs making it a reliable and practical option that combines durability, safety, aesthetics, and longevity.
Standing Seam Steel Roof
Utilizing hidden fasteners, Interlocking Standing Seam roof panels are typically 12” - 18” wide and can be ordered cut to size or installed by a pro.
Standing seam steel roofing material offers numerous advantages that make it a popular choice among homeowners and architects alike. The interlocking design provides excellent protection against leaks and water damage, making it highly durable and long-lasting. This type of roofing is also highly resistant to extreme weather conditions, such as heavy rain, snow, and high winds. Standing seam steel roofing is energy-efficient, as it reflects solar heat and reduces cooling costs in warmer climates, and is low-maintenance requiring minimal upkeep over its lifespan.
The sleek and modern appearance of standing seam steel roofing enhances the curb appeal of any property.
Overall, standing seam steel roofing is a reliable, beautiful, energy-efficient option that offers exceptional durability and protection for both residential and commercial buildings.

Wood Protection/Staining
It is very important to protect the EXTERIOR of your new cabin. Plan to stain within 2–6 weeks after installation. Choose a dry weather window with no rain for 24–48 hours and temperatures between 50–85°F.
Step 1 — Surface Prep : Brush or blow off dust and jobsite debris. Lightly wash if needed using a gentle cleaner. Allow siding to dry fully. Light scuff sanding is okay if surface feels slick. Avoid heavy pressure washing — it can rough up spruce and cause uneven color.
Step 2 — Choose the Right Stain: Use an exterior stain made for log homes or wood siding. Best choice: Semi transparent exterior stain with UV protection. Avoid interior stains, paint like solid coatings, and clear sealers with no pigment. Rule of thumb: More pigment = more UV protection = longer life.
Step 3 — Application Methods: There are two good options: (1) Brush & roller — slower but very DIY friendly and (2) Spray + back brush — faster, but always brush stain into grooves after spraying. Work in small sections and watch for drips in grooves.
Step 4 — Use Two Thin Coats: Apply two lighter coats instead of one heavy coat. Follow label coverage rates and don’t over apply. Thin coats bond better and last longer.
Step 5 — Detail Areas Matter : Give extra attention to the following areas - Bottom rows of siding • Sunny south/west walls • Cut ends and trim edges • Around doors and windows
Step 6 - Curing & Aftercare: Keep sprinklers off freshly stained walls and avoid washing for a couple weeks. Let finish cure fully per product directions.
Step 7 - Maintenance Plan: Inspect once per year. Sunny sides typically need refresh coats every 3–5 years. Shaded sides often last 5–7 years. Recoating early is fast and inexpensive. Waiting too long creates more prep work
Utilities:
Plumbing: We do not offer plumbing services, however all of our structures can easily accommodate your plumbing needs via installation through any local licensed plumber.
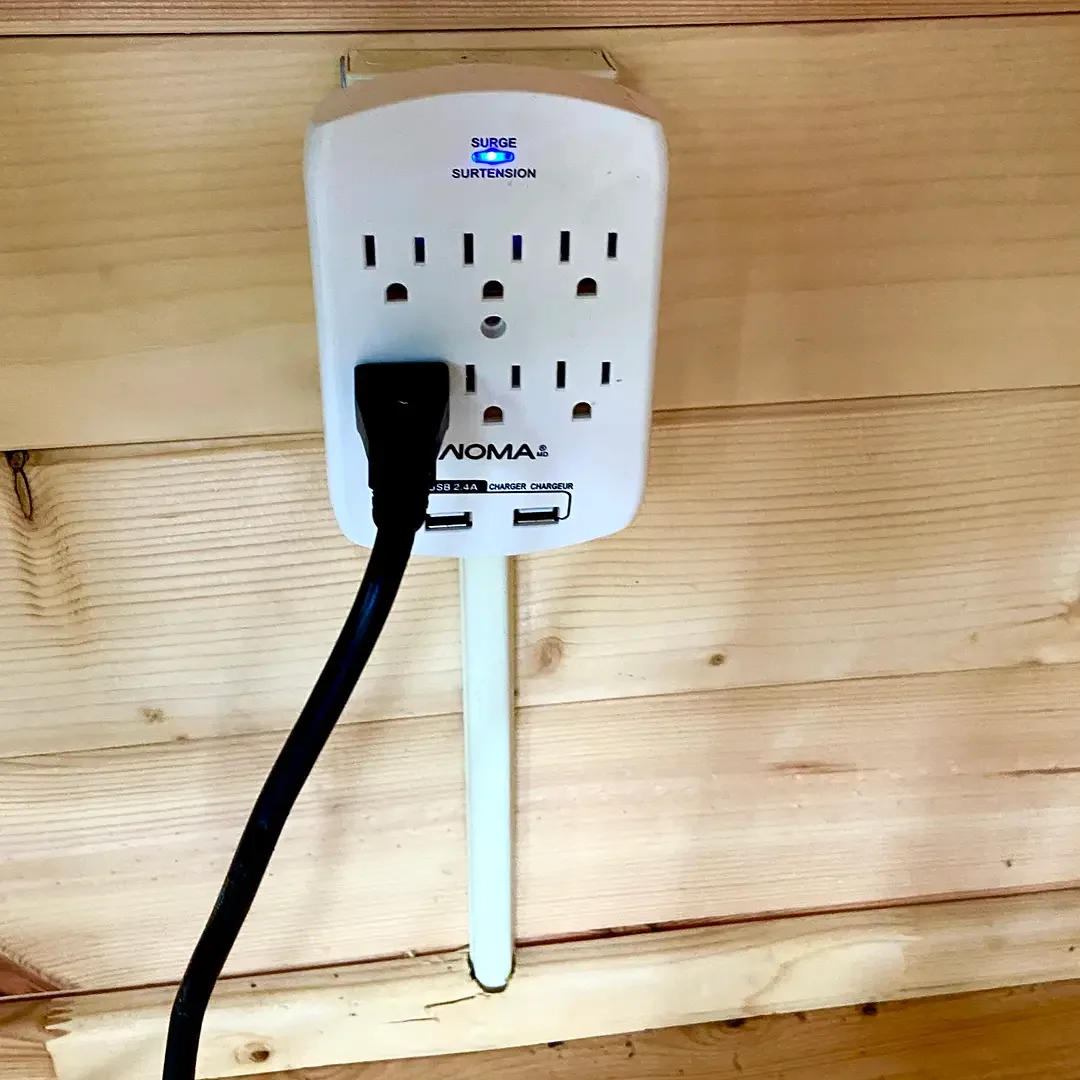
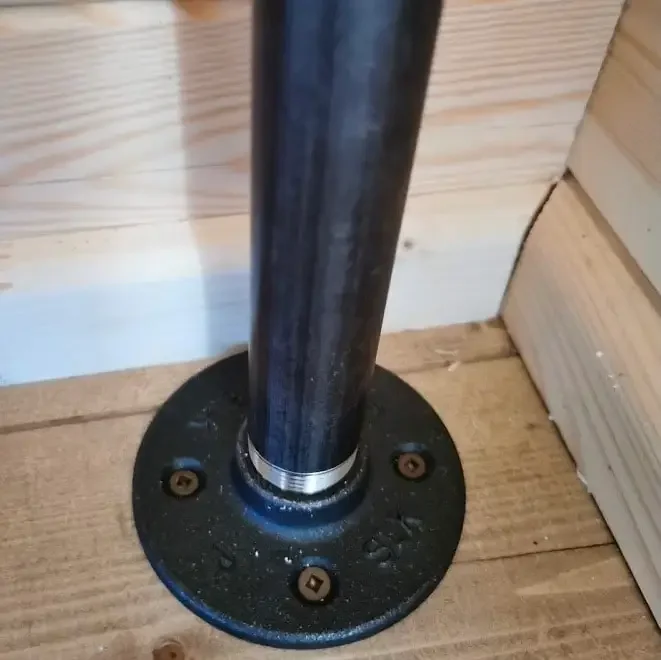
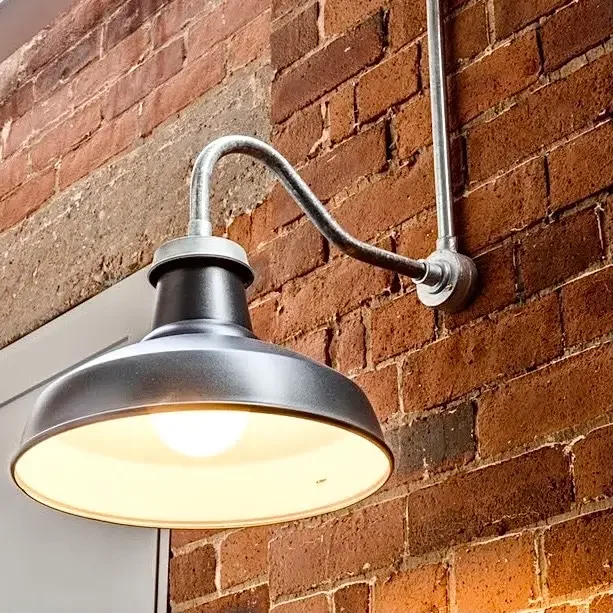
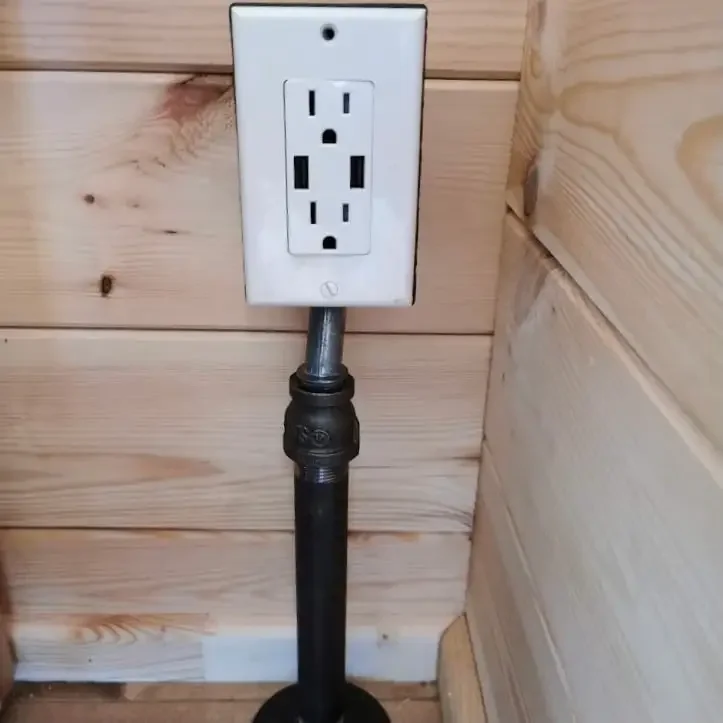
Electrical: We do not offer electrical services, however our structures can easily accommodate any of your electrical needs such as outlets and lighting. Your best solution to install wiring and electrical in our solid log wall structure is by way of pipe style conduits or baseboard boxes. These solutions can easily be provided and installed through any local licensed electrician.